
Here is a view of the final product:

First off we will need some starting materials.
You'll need:
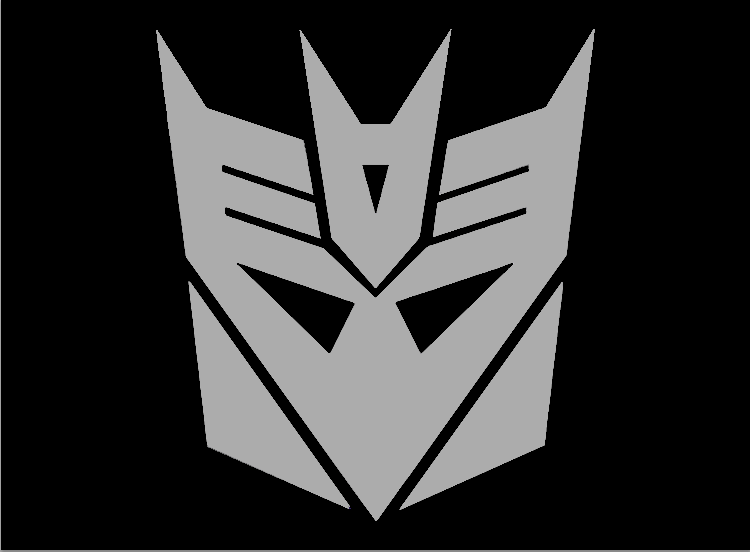
•The Decepticon image, which you can find here.
•A set of Cracked brushes, which you can find here.
•And lastly some textures, which you can find here.
All rights of these resources belong to their respectful owners.
Step One: Setting up your background
Start off by creating a new document sized at 750x550px.
Fill the background layer with black (#000000)
Grab your Decepticon logo and put it in the middle of your document.
Step Two: Get out those pen tools!
Go to View > Rulers (Ctrl + R). While you are on the logo layer, drag a guide from the side to the center of the document. With the Pen Tool, trace only the left half of the logo.
There is no need to trace the right half, because the two sides are symmetrical.

Step Three: Forming the logo shape
Create a new layer above the background layer and name it "Logo Left". With the Pen Tool selected, right click on the path you made in the last step and select "Make Selection". Go ahead and fill the selection with White (#FFFFFF)

Duplicate the Logo Left layer (Ctrl + J) and name it Logo Right. Select the Logo Right layer and go to Edit > Transform > Flip Horizontal. Drag it to the center of the document so the edges line up with the Logo Left layer. Merge the two Logo layers (Ctrl + E merges the layer with the one below it) and name it Logo Base.

Step Four: Give it some texture
Open up BG_texture (6) from the texture pack we downloaded at the beginning and resize it so it fits the canvas nicely.

Select the texture layer and go to Image > Adjustments > Desaturate.
Ctrl + Click the Logo layer and apply a layer mask the to the texture layer. Rename the texture layer to Base Texture. You should end up with something like this:

Step Five: Forming the inner bevel
Ctrl + Click on the logo layer to make it a selection.
Then go to Select > Modify > Contract and enter in 5px and push OK.

Create a new layer above all the others and name it Logo Bevel.
Fill it with Black (#000000)

Step Six: Small touch ups
As you can see, there are some spots where the Contract we did in the last step rounded the edges.
Select the Eraser Tool and erase inside the outline and make the corners pointy again.

Step Seven: Add some depth
Drag the same texture we used in Step Four onto the document again, desaturate it, and make sure it is on the top layer. Name this Bevel Texture.
Ctrl+ Click on the Logo Bevel layer and apply a layer mask to the top texture layer that we just added.
Click on the Base Texture layer and go to Image > Adjustments > Brightness/Contrast and set the Brightness to -80. Click OK.
At this point you can delete the Logo Base and Logo Bevel layers.
Select the Base Texture layer and use the Dodge and Burn tool to give the edges some highlights and shadows.

Step Eight: Gradient Overlay
Select the Bevel Texture layer and go to it's Blending Options. Click on Gradient Overlay and set it as shown:

Step Nine: Adding some cracks
Create a new layer above all others and name it Cracks. Set the blend mode of this layer to Overlay. Load up the crack brushes you've downloaded and put a few different ones on the mask.
And you're done!

Cracked Decepticon Icon >>>>> Download Now
ReplyDelete>>>>> Download Full
Cracked Decepticon Icon >>>>> Download LINK
>>>>> Download Now
Cracked Decepticon Icon >>>>> Download Full
>>>>> Download LINK Bn