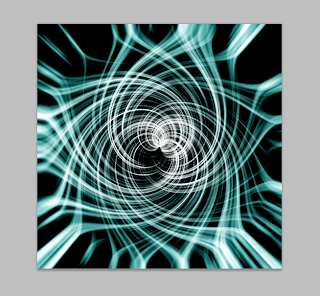
Here is a view of what we will be making:

Thing's you'll need:
•Photoshop
•Around 5-10 minutes
Let's get started!
1. Open up Photoshop and create a new document that is square shaped. I'll be using a 500x500 canvas size.
2. Fill the background with black and go to Filters > Render > Fibers and set the Variance to 20, and the Strength to 7. Press OK
3. Next you'll go to Filters > Distort > Polar Coordinates and press OK.
4. After that you will need to blur it a bit so the lines aren't so rough. Can't have a rough energy swirl. Make your way to Filters > Blur > Radial Blur and set the Amount to 100, the Blur Method to Zoom, and the Quality to Best. Click OK
5. Now we need to lighten the white up a bit. Go to Image > Adjustments > Levels and apply the following settings.
6. Press Ctrl + J (or Command + J if you are on a Mac) to duplicate "Layer 1". Select "Layer 1 Copy" and set its Blending Mode to Screen. Next thing you'll want to do is go to Filters > Distort > Twirl and change the Angle to 250°. Press OK and then select "Layer 1". Go back to the Twirl filter, but this time change the Angle to -250°.
You should end up with something that looks like this:
7. Since black and white is a bit plain, we will spice it up with some color. Create a new Layer and name it "color". Change it's blending mode to Soft Light. Select the Gradient tool and choose a color on the left side, and leave the right side black. I chose the color #3a9693 . Start your gradient in the center of the swirl and drag it outwards. Try it a couple different time until you get an effect you like.
 |
| Here is my finished product. |
That's all for today!
I'd love to see your finished product! Feel free to upload them to Imgur.com and leave the link in the comments!


No comments:
Post a Comment